Old-Fashioned Canned Beans Recipe
Old-Fashioned Canned Beans Recipe
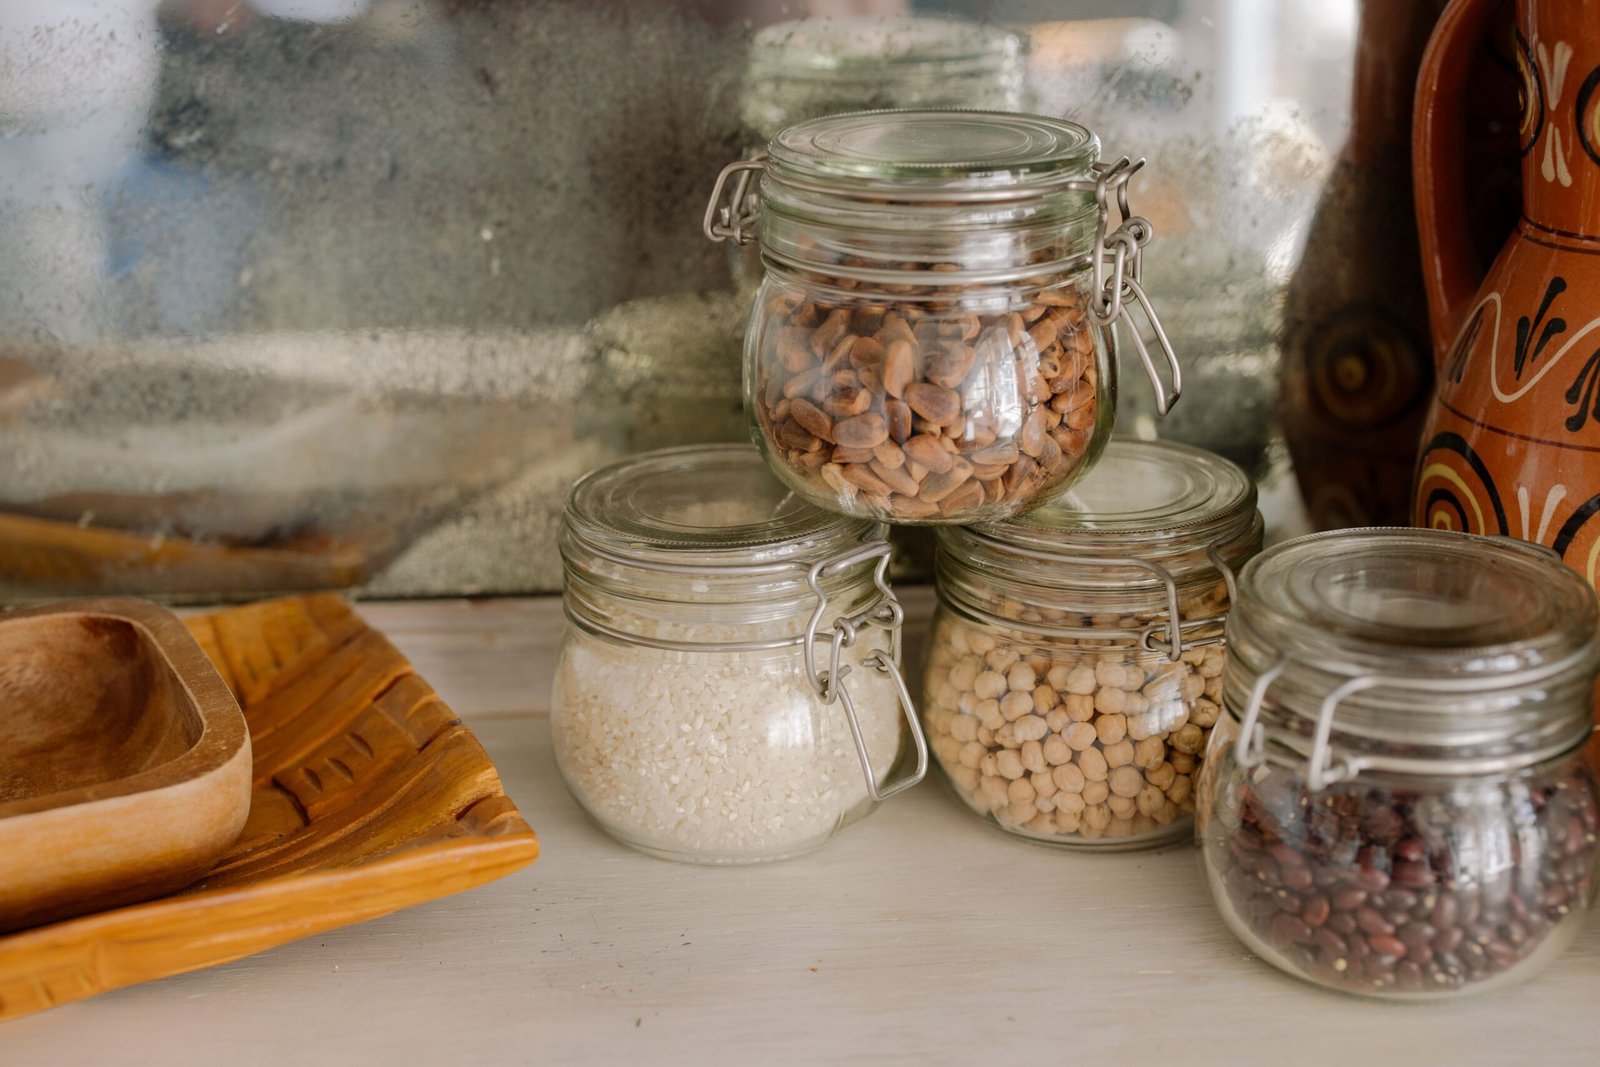
Learn how to preserve homemade beans in jars with this traditional canned beans recipe. These tender, flavorful beans are perfect for soups, stews, chili, and quick weeknight meals.
Making your own canned beans at home is a wonderful way to stock your pantry with wholesome ingredients and enjoy homemade goodness all year long.
🕒 Recipe Information
- Prep Time: 12 hours (including soaking)
- Cook Time: 30 minutes, plus pressure canning time
- Total Time: Approximately 14 hours
- Yield: Approximately 7 pint jars
- Category: Canning Recipes
- Method: Pressure Canning
🛒 Ingredients
- 2 pounds dried navy beans or white beans
- Fresh water for soaking and cooking
- Boiling water for filling the jars
- Canning salt (optional)
🥣 Instructions
Step 1: Sort and Rinse the Beans
Carefully sort through the dried beans and remove any stones or damaged beans.
Rinse them thoroughly under cold running water.
Step 2: Soak the Beans
Place the beans in a large pot and cover them with plenty of water.
Let them soak for 12–18 hours in a cool place. Drain and discard the soaking water.
Step 3: Cook the Beans
Transfer the soaked beans to a large pot and cover them with fresh water.
Bring to a boil and cook for 30 minutes, stirring occasionally.
The beans should be partially cooked but not completely soft.
Step 4: Prepare the Jars
Wash the canning jars and keep them warm until ready to use.
Add ½ teaspoon of canning salt to each pint jar if desired.
Step 5: Fill the Jars
Pack the hot beans into the hot jars, leaving 1 inch of headspace.
Cover the beans with fresh boiling water, maintaining the 1-inch headspace.
Remove air bubbles, wipe the jar rims clean, and secure the lids according to the manufacturer’s instructions.
Step 6: Pressure Can the Beans
Place the jars in a pressure canner according to the manufacturer’s instructions.
Process pint jars for 75 minutes and quart jars for 90 minutes, adjusting the pressure for your altitude and canner type.
Important: Beans are a low-acid food and must be pressure canned using a tested recipe. A boiling-water canner is not safe for canning beans.
Step 7: Cool and Store
Once processing is complete, allow the pressure canner to depressurize naturally.
Remove the jars carefully and place them upright on a towel.
Let the jars cool undisturbed for 12–24 hours. Check that the lids have sealed properly.
Label the jars with the date and store them in a cool, dark place.
💡 Old-Fashioned Canning Tips
- Choose high-quality dried beans for the best results.
- Leave enough headspace to ensure proper sealing.
- Never open the pressure canner while it is still pressurized.
- Always follow tested pressure-canning instructions and altitude adjustments.
🍲 Serving Ideas
Use your homemade canned beans in:
- Hearty bean soups
- Homemade chili
- Bean salads
- Stews and casseroles
- Traditional baked bean dishes
❤️ Final Thoughts
Homemade canned beans are a practical pantry staple that brings traditional homemade flavor to everyday meals. With proper pressure canning, you can enjoy delicious beans whenever you need them.